
In today’s world, privacy concerns have become a significant issue, especially when it comes to hidden cameras. Whether it's in hotels, changing rooms, or other private spaces, the presence of unauthorized surveillance can cause discomfort and safety concerns. Fortunately, with the advancement of Internet of Things (IoT) technology, we can build simple and effective systems to detect hidden cameras. This blog outlines how you can create a Hidden Camera Detection System using NodeMCU, an IR Receiver, and a Buzzer.
What is Hidden Camera Detection?
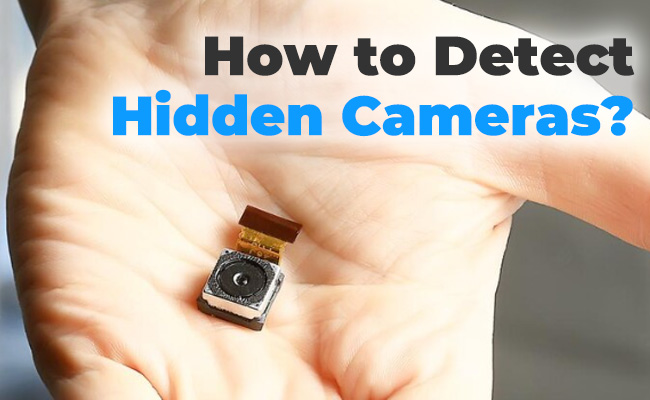
Hidden camera detection involves identifying the presence of cameras that are discreetly placed in environments where they are not easily visible. These cameras often use infrared (IR) light for night vision, which makes it easier to detect them using IR sensors.
The project we’ll discuss uses NodeMCU (a low-cost, Wi-Fi-enabled microcontroller) along with an IR receiver and a buzzer. When the IR receiver detects infrared signals emitted by a hidden camera, it triggers the buzzer to alert the user, indicating the presence of a camera.
Components Used in the Project:
- NodeMCU: A Wi-Fi-enabled microcontroller based on the ESP8266. It allows you to interface sensors with the cloud and control them remotely.
- IR Receiver: An infrared receiver module used to detect the infrared light emitted by cameras that are using night vision. It senses the IR radiation and provides an output signal when a camera is nearby.
- Buzzer: A simple electronic component that produces sound when activated. In this project, it will alert the user when a hidden camera is detected.
- Power Supply: To power the NodeMCU and other components.
How the Hidden Camera Detection System Works:
- IR Detection: Hidden cameras typically use infrared (IR) light to capture images in low light conditions. This IR light is invisible to the naked eye but detectable by the IR receiver module.
- Signal Transmission: When the IR receiver detects infrared radiation from a hidden camera, it sends a signal to the NodeMCU.
- Buzzer Activation: Upon receiving the signal from the IR receiver, the NodeMCU triggers the buzzer to emit a sound, indicating the presence of a hidden camera.
- Alerting the User: The buzzer will sound continuously or intermittently depending on how you program the system. The sound alerts the user to the potential presence of a hidden camera.
Steps to Build the Hidden Camera Detection System:
- Set Up NodeMCU: Start by configuring the NodeMCU with the appropriate IDE (like Arduino IDE) and write the code that will receive signals from the IR receiver.
- Connect the IR Receiver: Wire the IR receiver to the NodeMCU. The IR receiver module will detect the infrared radiation emitted by a camera and pass that information to the NodeMCU.
- Integrate the Buzzer: Connect the buzzer to the NodeMCU. Ensure that it is connected to a digital pin, so it can be activated when a signal from the IR receiver is received.
- Write the Code: Write the Arduino code for NodeMCU to listen for signals from the IR receiver. When a signal is detected, the NodeMCU will activate the buzzer.
- Testing the System: Test the system by placing it in front of a hidden camera. If the system is working correctly, the buzzer will go off when it detects infrared light emitted by the camera.
Benefits of the Hidden Camera Detection System:
- Privacy Protection: This system helps ensure your privacy by allowing you to detect hidden cameras in unfamiliar or suspicious environments.
- Low Cost: Using NodeMCU, IR receiver, and buzzer makes this system very affordable and accessible for anyone interested in privacy protection.
- Simple and Effective: The system is straightforward to build, doesn’t require advanced knowledge of electronics, and can be set up in a short amount of time.
- Portable: The compact size of the system makes it easy to carry around and use in different locations.
- Easy to Use: Once the system is set up, the user only needs to point the device in suspicious areas and listen for the buzzer.
Conclusion
The Hidden Camera Detection System using NodeMCU, IR Receiver, and Buzzer provides a simple yet effective way to protect your privacy and ensure that your surroundings are safe from unwanted surveillance. By utilizing IR sensors, this system can quickly detect the infrared light emitted by hidden cameras and alert you with a buzzer. This is an excellent project for beginners in IoT, and it can be implemented on a budget, making it a great solution for anyone concerned about privacy in public spaces.
"To purchase, contact us today!
📞 Call/WhatsApp: +91 9346934699 / 961743699
📧 Email: info@diykit.in
Our team is ready to assist with any questions. Get your DIY home automation kit and start building your smart home today!"